INSTALLATION MANUAL STONE VENEER
The installation of Stone Design veneer is comparable to the installation of wall tiles and requires only a few adaptations. For your convenience, we provided detailed installation information that is aimed to make the installation process of Stone Design veneers as smooth as possible. This information is partly additional to the printable installation instructions you will find with the individual product listings. Please contact us via info@presentusa.com or the contact form if you have any questions!
How Much Stone Do I Need?
Follow these easy step to determine how much Stone Design you will need.
- Measure the width and the height of the area to be covered and convert to square footage; width x height = total square footage.
- Figure the square feet of any windows, doors, and openings and subtract this amount from the first figure. (total square footage – windows, doors, and openings).
- Allow for at least an extra 10% more stone for broken pieces, cutting, and trimming.
PLEASE SEE THE PRINTABLE INSTALLATION INSTRUCTIONS WITH THE INDIVIDUAL STONE PRODUCTS
Processing the different Stone Design materials
Stone Design offers stone veneers in 4 different materials: Manufactured concrete stone veneer, Natural ledgestone panels, Gypsum Stone-Look Wall Decor panels, and Flex Veneer natural stone sheets. The installation steps for Manufactured Stone Veneer and Natural Stone are the same. The tools needed for Gypsum Stone-Look are slightly different, but other than that installation steps are the same. For Flex Veneer both the tools and the installation steps are different and even easier. Please see the specific installation instructions in the steps shown below.
Plan your project
No matter the type of stone veneer you are working with, a big factor in a successful project is the planning and extensive measuring. Prior to the installation you should decide on the way you are going to work around window openings, outlets, and on the use of a grout line. Be aware of sight lines when cutting, drilling, trimming, and placing the stone. Try to place cut edges up when they are above eye level and down when they are below eye level. Also it is recommended to smooth out and prime the surface. Unpack multiple boxes of stone veneer, and arrange a laying pattern prior to starting the installation.


Do I need corner pieces?
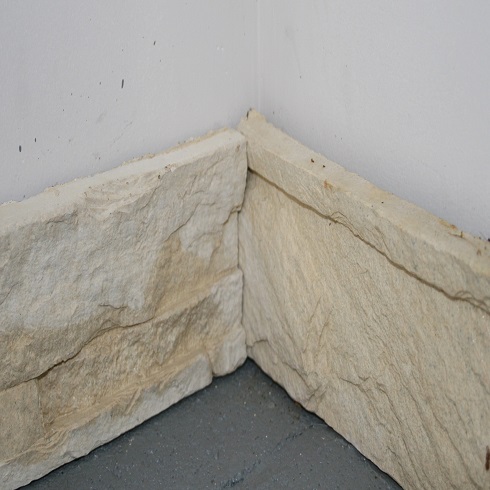
No, no expensive corner pieces are needed. The way to form corners, or corners that are not at 90 degrees, is to miter cut stones on site. To miter cut a corner, select one stone and mark the point where the join should be. Cut the stone at the mark with no tilt (a 0 degree angle) on the saw. Then the two pieces need to be individually cut on a 45 degree miter to form a right angle. Once cut, check the stone to make sure it forms a perfect 90 degree corner. The color, the width and thickness of the stone pieces should match to form a continuous look that seems to "flow" around the corner. Never use 2 different panels to form a corner, as the color, texture and thickness will not match as desired.
Installation of Manufactured stone veneer and Natural Ledgestone
For the installation of concrete manufactured stone as well as for natural ledgestone a wet tile saw is required. Most wet tile saws have a tilting option as shown in the first picture. If you plan to rent a tile saw, make sure the equipment has this option.
Example on how to cut an inside corner with a tilting tile saw:


Alternatively: Tiles can be placed with a lap joint or a butt joint to wrap corners if a tilting tile saw is not available. Excessive gaps can be filled with a pigmented mortar.


Tip: Never mark the surface of the stone with a permanent marker as this may be absorbed by the stone and cannot be removed.
Installation of Gypsum stone-look
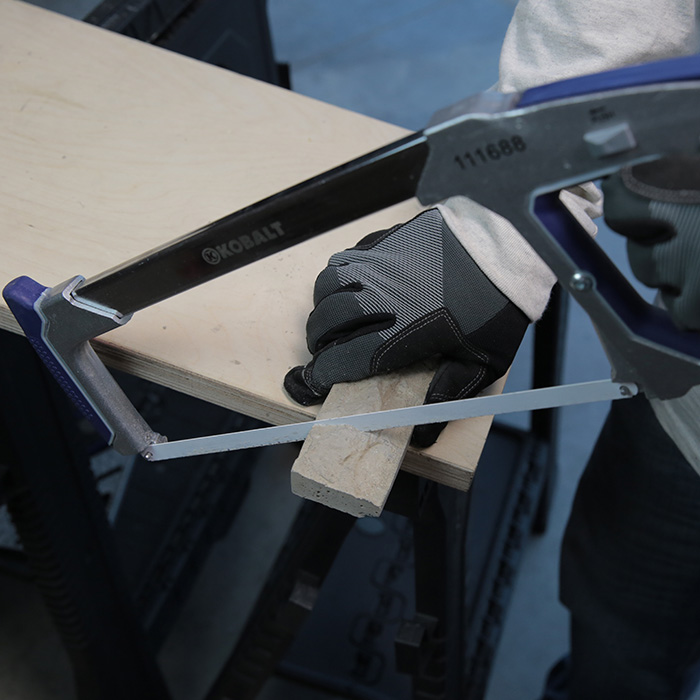
For the installation of Gypsum stone-look a fine handsaw, and file or rasp is sufficient for cutting, trimming, and to make miter cuts.


Application of adhesive
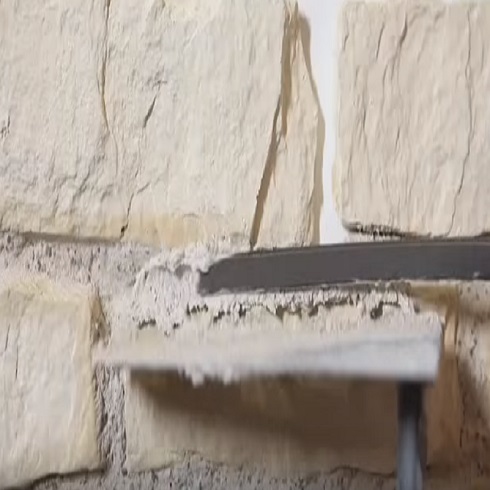
Apply the tile adhesive on the wall and on the back of the stone with a notched trowel. Ensure all depressions on the back of the panel are filled and that the edges of the panel are kept clean from mortar. Work small spaces at a time to prevent the adhesive to dry too quickly.


Placing the stone
By horizontally sliding and pushing it firmly, place the stone on the wall. Use spacers for the desired joint. Leave the spacers in until the adhesive has completely dried (> 24 hours). When installing, ensure all mortar is removed from the edges of the panel prior to installing the adjacent pieces. This will ensure that all adjacent pieces are installed as tight as possible and thus eliminating unsightly gaps. Vertical joints should be randomly staggered to disguise the seams.


Grouting & Finishing Joints
After the adhesive has completely dried (> 24 hours), remove the spacers and apply the grout in the desired color. After the required drying time, smooth the grout line with a pointed trowel. Brush away dust and any grout or mortar residue. This brushing can also gives the joint its texture. If you want to do this make sure you do this before the grout has fully dried.


Installation of Flex Veneer
For the installation of Flex Veneer only a utility knife is needed for cutting. However it is recommended to use a table saw with a fine blade for straight and smooth cuts.


Application of a sealer
Application of a transparent sealer is recommended for all stone veneer. This prevents stains, the build up of dirt and lime, and it will allow you to clean it with a damp cloth easier.

Instruction videos
Please be advised that these instruction videos are not available in English at this time. If you have any questions about the videos, do not hesitate to contact us. We are more than happy to explain!
Manufactured stone veneer installation video
In this instruction video the option of a grout line is shown. For manufactured stone veneer as well as natural ledgestone it is also an option to choose a dry stack application.
Flexveneer installation video
Additional instruction videos
Please be advised that the stones shown in the video's below are not Stone Design products, but the installation process shown is comparable to the installation of Stone Design products. Customers should be aware that Stone Design manufactured stone veneer and Stone Design natural ledgestone products are much thinner, lighter, and therefore easier to install.
Instruction video: Installation of a manufactured stone veneer on an exterior wall with Quikrete Veneer Stone Mortar
When installing Stone Design natural stone or Stone Design manufactured stone veneer on exterior walls make sure you prepare the subsurface as shown in this movie.
Instruction video: Installation of natural ledgestone wall panels on a interior cement board wall with a polymer modified thin set mortar
When installing Stone Design natural stone, Stone Design manufactured stone veneer, or Stone Design gypsum stone-look panels make sure you prepare the subsurface as shown in this movie.
Our project tips:
- We recommend you to order a sample first.
- Make sure you order at least 10% extra for off cuts, damaged pieces, and future repairs.
- For primer, adhesive, grout, and sealer we refer to your local home improvement store, and brands like Quikrete Veneer Stone Mortar, Custom-Versabond, Custom-AcrylPro, Mapei, Polyblend, Sika, and Miracle sealers.
- For more detailed information about installation techniques in compliance with ASTM C1780 we refer to the Masonry Veneer Manufacturers Association (MVMA) Installation Guide
